Share
Pin
Tweet
Send
Share
Send
Take a thin fabric - calico, calico (I think you can try silk and satin).
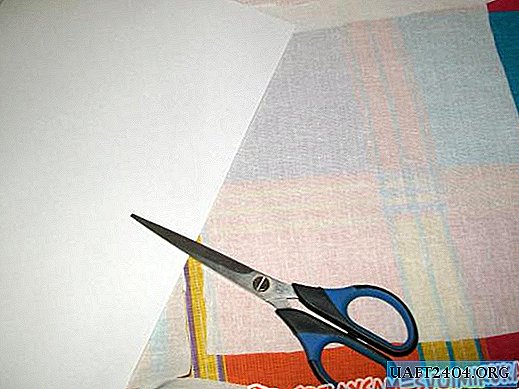

Carefully cut the fabric to fit the A4 size sheet, but it’s about 5 cm shorter — the printer will pick up paper at this edge. To prevent wrinkles on the fabric that might cause the printer to “jam” the paper, carefully iron the shred with an iron. (photo 2) You can make several blanks at once.

Apply PVA glue around the perimeter of the fabric (that is, it remains flexible when it dries), carefully press the edges to a sheet of paper. Pay special attention to the bottom edge that is inserted into the printer - so that there are no protrusions, creases, protruding threads! Of course, nothing should stick out on the sides of the sheet. Leave the paper to dry completely or, if in a hurry, dry it with an iron through an unnecessary cloth.


Now copy the image you are going to print into a Word document (although if it is more convenient for someone to work with another program - please), place it on the sheet in the way you like. Before printing on fabric, do a test print on paper - it may well turn out that the pattern goes beyond the edges of the fabric (I ruined my first picture this way). Check the paper sample with the fabric, correct the location of the picture.
Now print on the fabric. Do not be alarmed that the printer works quite hard - after all, it is not designed for such work, it’s our crazy hands that make it.

But the result is worth it! The drawing is wonderful, although the colors are getting a little paler.

A very interesting texture is visible, something like a picture on canvas.

Now you can tint the drawing with acrylic paints, you can put the fabric on the plywood and cover it with varnish, or simply insert it into a suitable frame under the glass.

Share
Pin
Tweet
Send
Share
Send


