Share
Pin
Tweet
Send
Share
Send
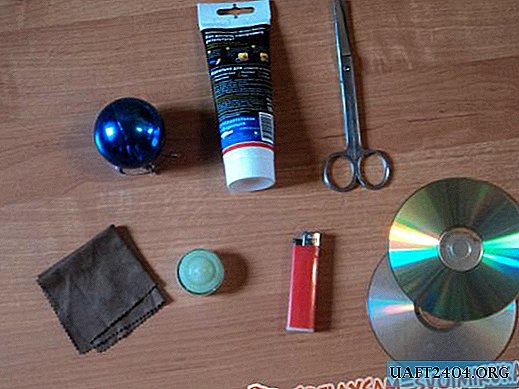
For work, we need:
- Christmas ball toy.
- Disks.
- Lighter.
- A candle.
- Garden or metal shears.
- Glue the moment of "liquid nails."
- A piece of rag.


Small garden shears or metal scissors cut squares from the discs. Before cutting, we heat the place of the cut on the disk with a candle or a lighter so that the shiny coating of the disk does not come off when cut. Use tweezers to not burn yourself. You can also hold the disk for some time in hot water, it will have the same effect as when heated with a lighter.


Next, glue the squares onto the ball toy with glue. There are two ways to stick pieces of a disc onto a toy:
- The first way. Glue from top to bottom, move in a circle.
- The second way. We start sticking from the middle of the ball, in a circle. Then move up or down. But with this method, it is better to cut the disk not into squares, but into rectangles.
It is better to use a ball of silver or white, then the "openings" between the squares will not be so noticeable. We used glue-moment "liquid nails" in white or transparent colors.

On the finished ball, we remove the traces of glue mechanically, we rub the ball with a cloth for shine.

The toy is ready.
By this principle, balls are made for discos. By directing a ray of light at such a ball in a dark room, the room will be filled with sunbeams. Only for the manufacture of a disco ball you need to use a larger ball-base, experiment.

Share
Pin
Tweet
Send
Share
Send

