Share
Pin
Tweet
Send
Share
Send
Kusudama was our old dream, but since its technology is quite complicated for children, we constantly postponed its manufacture.
Finally, thanks to the fact that it was necessary to do the crafts at the children's exhibition, they decided, and this is what came of it.
To get started, we took a set of colored paper for an A4 printer. Several sheets were cut into even squares with a side of 9 cm. From each sheet they turned out 6 pieces. Just the number of petals for one flower. Then each square began to collapse and bend in this sequence.
Fold the square in half to make a triangle.
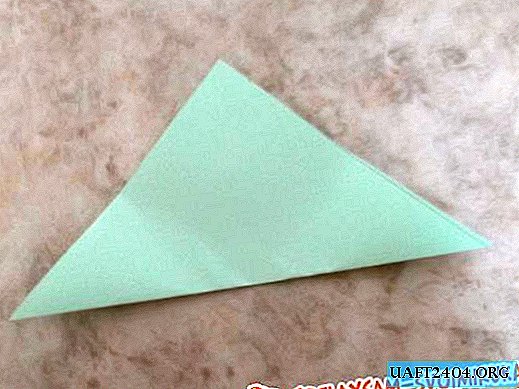
Bend the corners of the resulting triangle to the middle. It will turn out a rhombus.

We bend the left corner and, slightly expanding from the inside, we combine its middle with the extreme edge of the triangle. We do the same with the right side.

We bend the resulting upper corners forward.

Combine the extreme edges of small triangles and bend.

To give the desired petal the desired look, we turn it into a cone and glue the internal parts. It turns out that there are already stamens inside the petal. For each flower we made six such petals and glued them together.


To get the ball, we made 12 flowers of different colors and also glued them together. We did this job in the evening. Despite the fact that kindergartens did kusudama, it turned out to be excellent, apparently due to the fact that all the flaws "went" in the middle and they were completely gone.
Now, in our plans for the future, try to make a more complex kusudama.


Share
Pin
Tweet
Send
Share
Send

