Share
Pin
Tweet
Send
Share
Send
It will be required for the manufacture of automatic backlight
- LED strip of the desired length.
- Motion sensor.
- See the rest of the elements in the diagram.
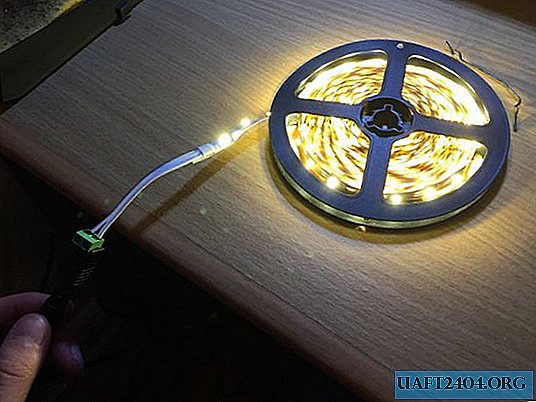
LED strip, my skein. He took a warm glow.
The sensor itself. When buying, look at the supply voltage. Mine is powered by 12 V. You can take 5 V, the most common, but then you will have to make a stabilizer for it. The stabilizer is right there on the sensor board.

The connector for connecting has three outputs: plus, minus and logic output signal. Well, here you can guess: red is plus, black is minus, and brown is the signal output.

Automation circuit
The scheme for matching and controlling the glow of the LED strip using a motion sensor is presented below.

On the chip NE555 assembled delay timer. As soon as a short signal arrives from the motion sensor, the timer starts and turns on the LED strip by means of the key on the transistor. Well, as time goes on - off. Everything is simple.
We assemble the circuit and test it on a temporary breadboard.

Next, we are already collecting for a permanent.

The bottom of the circuit board is simply soldered with solder tracks. I like to assemble electronic devices on such boards, it is very simple. You can buy them - HERE.

Once again, we test the newly assembled automatic backlight board.

Without movement, the tape turns off.

And as soon as it’s worth moving or appearing, it immediately lights up.

Using Auto Backlight
Where and where to apply the whole thing is up to you. Personally, I made such a highlight in the kitchen, and now when I come to the sink to wash the dishes - the light automatically lights up.
I also made the highlight of the bottom of the bed. This is how everything was fixed.

The whole system is powered by a 12 V pulse adapter.
Now you just have to stand on the floor at night in the dark, when the backlight lights up that does not blind your eyes.
Share
Pin
Tweet
Send
Share
Send


