Share
Pin
Tweet
Send
Share
Send
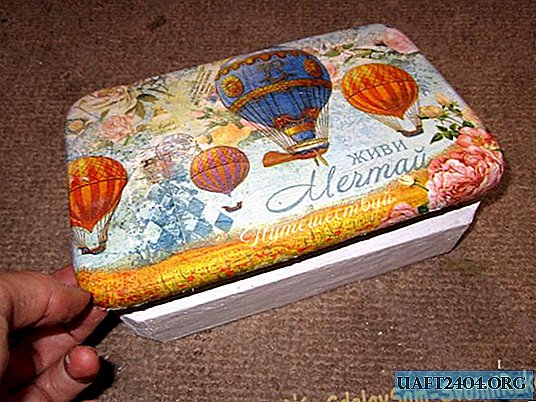
You will need:
1. A beam of 1.5 * 3 cm with a length of at least 64 cm;
2. Cutting board 20 * 13.5 cm;
3. Two small loops;
4. Napkin
5. A set of gimlets;
6. Self-tapping screws -4 pcs.;
7. Clay Joiner's moment;
8. Transparent glossy varnish Vixen in a spray can;
9. Acrylic putty;
10. Coarse paper large and medium;
11. A wood saw.
12. Glue polymer Prestige;
13. Corner.
Take a board and use a wine cork to close the hole, smooth the surface with an acrylic putty, wait for drying and finally remove the irregularities with medium sandpaper.

2. Then we will cover the surface of our board with white acrylic paint and let it dry.

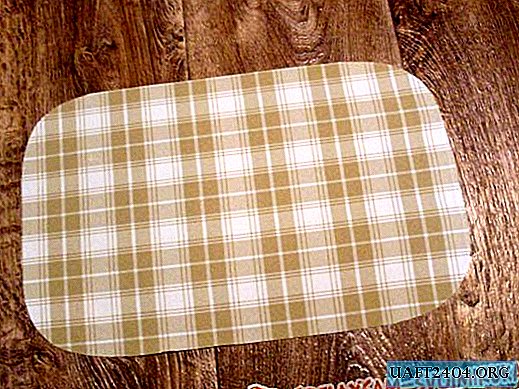
3. At this time, we will separate the lower parts from the napkin. Apply Prestige glue to the dried board (including the rounded edges) and begin to glue the napkin, starting from the center to the edges, turning the edges of the napkin. With a flat brush No. 12, smooth from the center to the edges of the folds and bubbles.

3. After this, it is necessary to varnish our board in several layers with varnish - the future lid of the casket at a distance of 25 cm, shaking well before doing so. After applying the coat, wait 15 minutes to dry. If there is no way to do it on the street, you need to do it near the window.

4.Now we will cut out the casket. Since the lid of the box is rounded, the case will be slightly smaller - 19 * 13cm. We mark 19 cm, then we draw a corner with the exact angle of 45 degrees and saw off the bevels diagonally on both sides. The inner part is 16cm. We do 2 details this way. Then mark 13 cm - inside the bevel will be 10 cm, respectively. We also make 2 such details.

5.Now glue with glue Moment Joiner body parts and the bottom of the chipboard sheet 20 * 13.5cm.

6. Put the putty on the casket

7. Then we sand the putty with fine sandpaper and paint it with white acrylic paint. In fact, it is better to immediately primer with a white acrylic putty - because the acrylic paint does not even out, remains drips and does not fit well on the putty and can peel off spontaneously.

8. For the beauty of the edge of the box you need to cut it down and level it with putty, paint it with white paint.

9. Hang the hinges on the casket, and then on the lid. Drillers will come in handy for us, since it is simply impossible to screw small self-tapping screws into dense wood with an ordinary screwdriver.

10. At the bottom we glue felt 16 * 10cm.

11. That's what happened!

Share
Pin
Tweet
Send
Share
Send

