Share
Pin
Tweet
Send
Share
Send
So, for this master class we need to take:
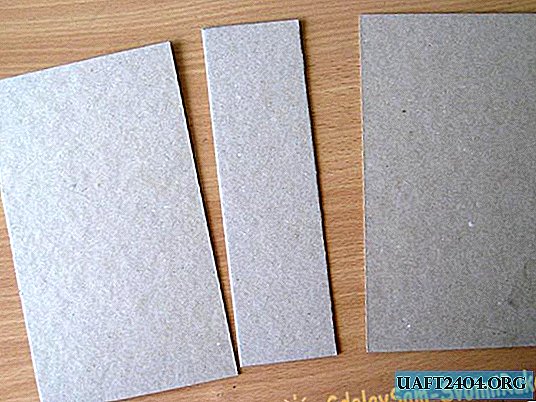
- Migratory cardboard, two sheets 11.5 * 21 cm, one 6 * 21 cm;
- Fabric in gray tones in a cage and in peas, we need Polish cotton;
- Scrapbook paper in male colors in brown, taupe;
- Synthetic winterizer;
- Pictures with coffee and gears;
- Cut down gears, machine, male die cuts;
- Pendant clock color bronze;
- Bronze metal brads;
- Bronze metal corners;
- Watercolor paper;
- Brown satin ribbon in white peas;
- Double-sided adhesive tape, glue stick, Focus glue;
- Scissors, pencil and ruler.

Since we have three binder blanks, we need to combine them into a single solid base, so we cut two strips of 4 * 21 cm watercolor paper.

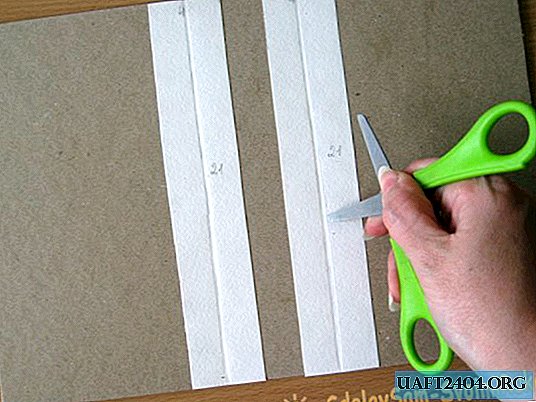
We smear the strips with glue stick and glue them to the joints between the binding blanks. Now, at the joints, we draw lines on the bends with scissors so that this base folds well.

Now we turn it over, glue strips of adhesive tape.

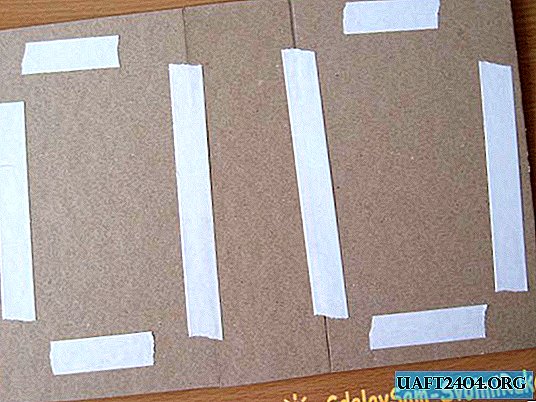
And glue the synthetic winterizer. Now we take the fabric and smooth it with a good iron.


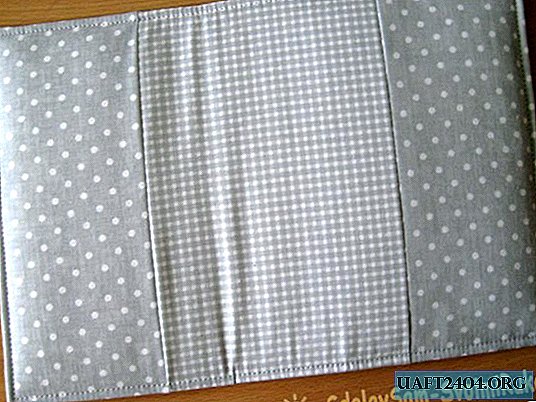
We sew pieces of fabric together into a single fabric. Now put this piece of fabric face down. Now we put the binding part, smear the edges and corners with glue stick.


We wrap and tighten the main part of our casket in such a way. Now in the center from the inside, glue the strips of tape.


Stitch along the edge. Now we cut such paper cuts from watercolor paper, we take two pictures.
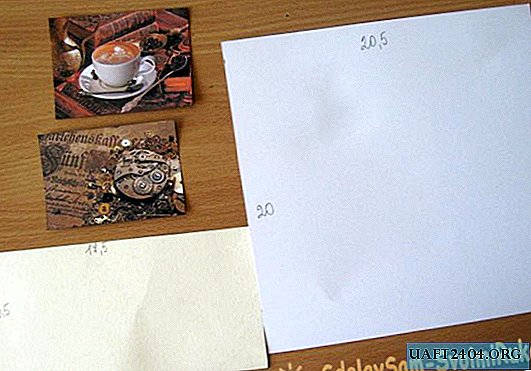
We put everything on the cover in this way, then in the same sequence we will all be flashing. Now we take a large watercolor blank.

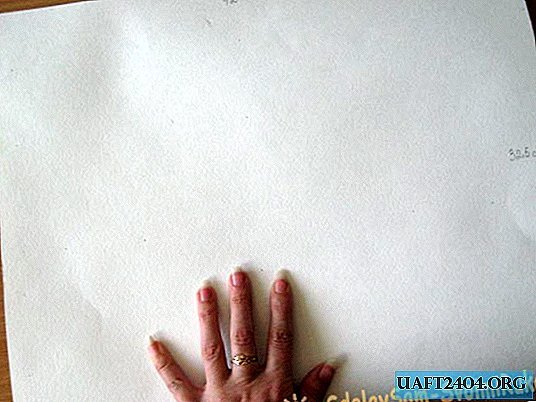
We divide it into parts and cut off the excess.


We insert binding rectangles from the inside into the sides, and glue the same blanks from scrapbook paper from the outside. Stitch each side separately from the front.

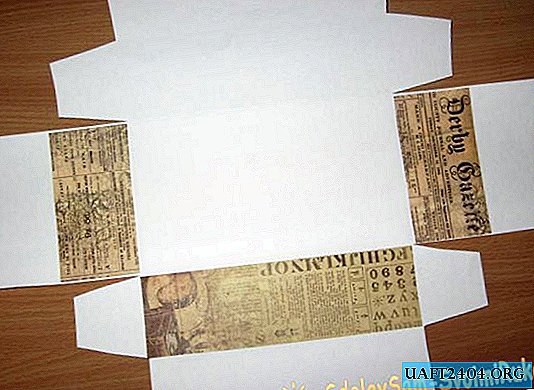
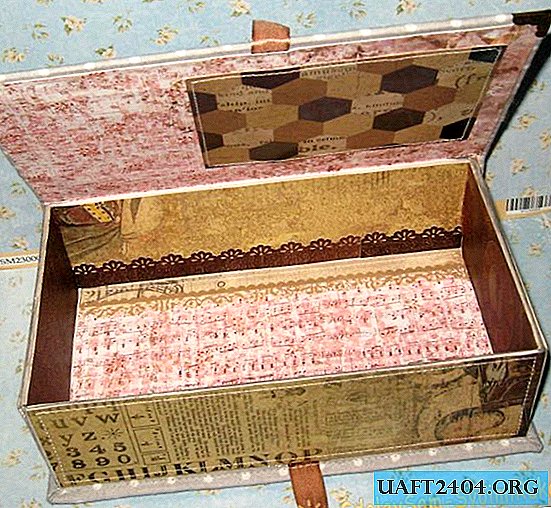
On the cover we glue the gears, insert the brads, the suspension on the brads. Now we glue the scrapbook paper inside and put it under the press.

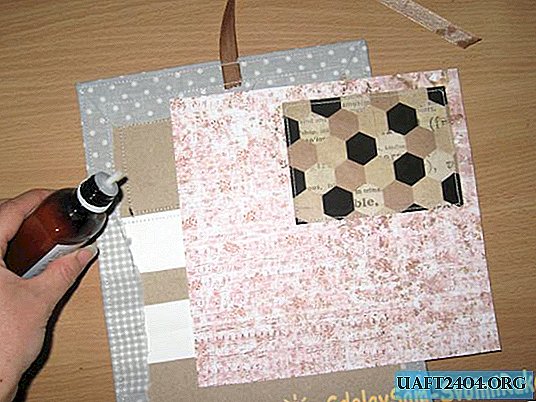
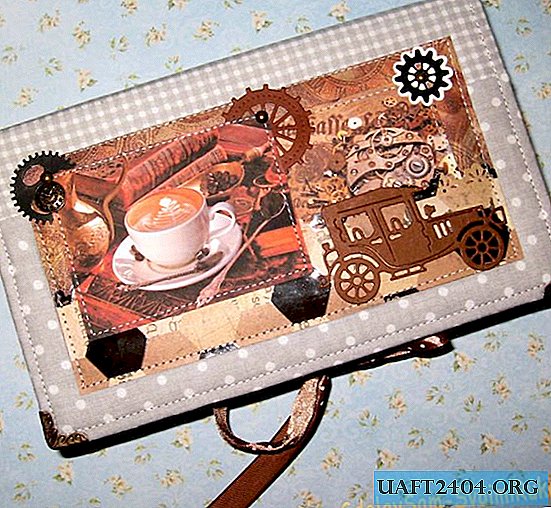
We assemble and glue the bottom of our box and paste it now into the upper main part of our cover. We also put our casket under the press. We insert the corners, glue the machine and our banknote is ready. Thank you for your attention, I wish you all success and bye !!!


Share
Pin
Tweet
Send
Share
Send

