Share
Pin
Tweet
Send
Share
Send
If it became interesting for you to try to do something in this wonderful, interesting, and not too complicated technique, then you can start with a panel on which there will not be so many different figures, a kind of minimalism, but this will be enough for the first time to feel all the charm of this beautiful absorbing process.
To do this, prepare a piece of polystyrene foam, I have "coarse-grained" at hand, but there is an even better structure, it is called foam board, it’s also good to use it, it’s just thinner and it will need to be glued with an additional base. By the way, some people who see this idea on the Internet and light up, try to use this technique on a corrugated board, I immediately warn that nothing will work out (personally verified).
In general, you will need:
1. Styrofoam of any size
2. Stencil, pen,
3. Small patches of different colors and textures, especially with a glitter look beautiful,
4. Stationery knife,
5. Some kind of flat and blunted tool, such as nail files, or a seam spreader (stack), or a wooden stick, or you can even use a knife blade (a blunt side is needed).
6. One large piece of fabric, it will close the back of the picture to us, and at the same time frame it in front.
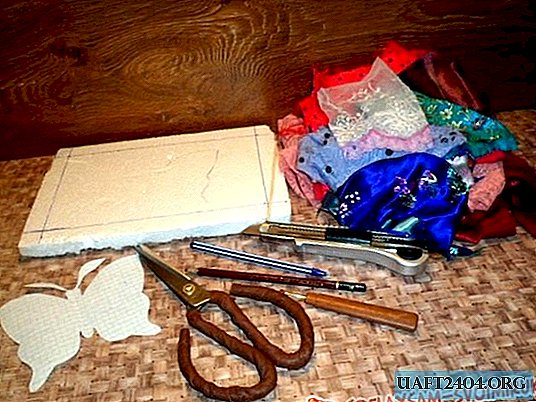
It seems to be all for now, but when you create, you yourself will feel how and what is more convenient to work with. First of all, we apply the desired pattern, I cut a butterfly on a sheet and then simply circled it on polystyrene foam. Next, it was necessary to break it into different parts, it was like a mosaic, at first I designated a lot of small details, but then I realized that the panel would not be large, and small details would simply not be noticeable. Therefore, in the further process, it was necessary to reduce and make the mosaic pieces larger. Then draw a frame. Next we take the cannon knife and begin to cut the grooves straight along the contour of the handle. Not too deep - about 3 mm.


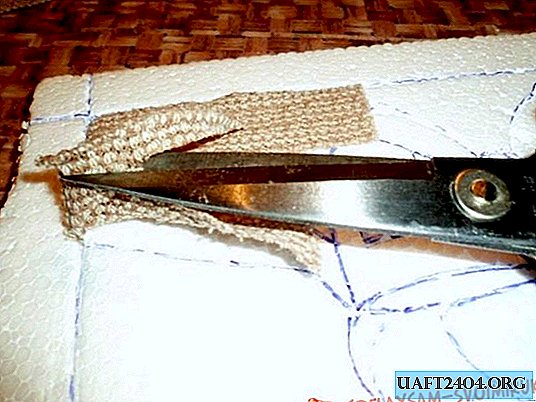
Now, to fill your hand a little, it is better to start with the background of the panel. It could be made solid (beige), but I wanted to make it also divided into several parts, it looks so interesting. To do this, bring the shreds to the selected area and, having measured the size by eye, cut off a little more (in reserve), and begin to slowly fill the fabric into our grooves. Here you can try out various refueling tools. But they should not be much thicker than the grooves. We cut the excess with scissors, but if the fabric is loose, then you need to leave more stock (you can drop PVA into the groove). By the way, the antennae of the butterfly can be drawn with a marker, or contour paints. And you can glue the strings.



Now we can lay out our future panel on a large piece of fabric, and begin to tuck in the front of the frame. It is advisable to pull it slightly so that it does not clatter where.


Well, consider that you have already practiced and felt all the nuances of this creation, so you can now proceed to the most delicious part of the “dessert”. You need to pick up shreds more beautiful and look richer, for example silk, brocade, velvet, satin, well, if there is such a thing available of course, and begin to think about how to harmoniously arrange them among themselves. Everything was born for me along the way, as it was out of my head, so it did.


And such a beauty in the end turned out. For the first time I really liked it. You can say that I fell in love with this
Kinusaig technique. And if you liked it too, then I will be very glad that you will want to try something like that. So that
try it - and everything will surely work out!

Share
Pin
Tweet
Send
Share
Send

