Share
Pin
Tweet
Send
Share
Send
So, an idea is needed. Any image you like is suitable. You can certainly draw from nature, but using a picture is easier. We will "paint" the picture "Cherry Morning" by Alexander Sergeev.
Image selected, now what you need to work.
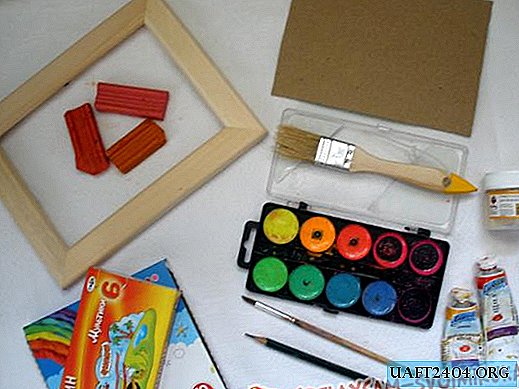
- Cardboard or hardboard
- Plasticine, the more colors, the better
- Frame,
- Paints,
- Brush,
- Acrylic lacquer.
Getting to work.
1. Preparation of cardboard. The size of the cardboard should initially correspond to the size of the frame, so as not to remove excess.
2. We take cardboard and apply the main elements depicted in the picture with a pencil.

3. In the process, plasticine must be mixed so that the colors smoothly transition from one to another. As a rule, the colors of plasticine are darkish, so your colors will differ from the colors in the picture.

4. Now we apply plasticine with our fingers on the cardboard. It is better to start with the background, so that the clay lay down, as brush strokes are superimposed on each other.

5. Plasticine, unlike paints, the material is solid, so you need to try so that the “strokes” of plasticine are jewelry and light. So gradually apply a “smear” after the “smear” until the entire surface of the cardboard is covered.


6. After the background is applied, go to the main details of the picture and apply flowers and cherries. You can observe the proportions of the sample, or you can add something of your own, for example, draw not the entire image, but some part of it, add other colors, bend the lines a little differently. In this case, it turns out personally your creation for a variation of the selected picture.


7. The last detail of the picture is a vase. The picture is ready.

8. The painting must be protected from dust and damage. To do this, apply a layer of acrylic varnish on top. It’s better to take a soft and wide brush. Varnish is applied with quick movements. We are waiting for the varnish to dry.
9. Frame design. The frame should not attract much attention. The color of the frame should be in harmony with the picture, so you need to choose either the overall color of the picture, or the color that is least. We take a brush and paint the frame, in this case, in a light green color.
10. The final stage. We insert the picture into the frame and enjoy the result of our work.

Be brave, fantasize and experiment. Your fantasies and taste will make the picture unique, and let the pleasure received from creation create new thoughts and ideas.
Share
Pin
Tweet
Send
Share
Send

